How to level in Aion 2: the route from level 1 to 45
Main quests routed with the Map Overlay, a macro for DPS, Stigma at 22, and the Noble Belt and Amulet before the campaign ends.
3 minUpdated Oct 2026
Original video on the Scaryel channel
01How leveling works
From level 1 to 45, progress is driven by the main quests. Every class works for the route: pick based on the role you want to play — healer, DPS, tank, or support.
When creating your character, pick a regular server from the list. Early-access servers are flagged and aren't the recommendation for anyone starting now.
02Routes with the Aion 2 Map Overlay
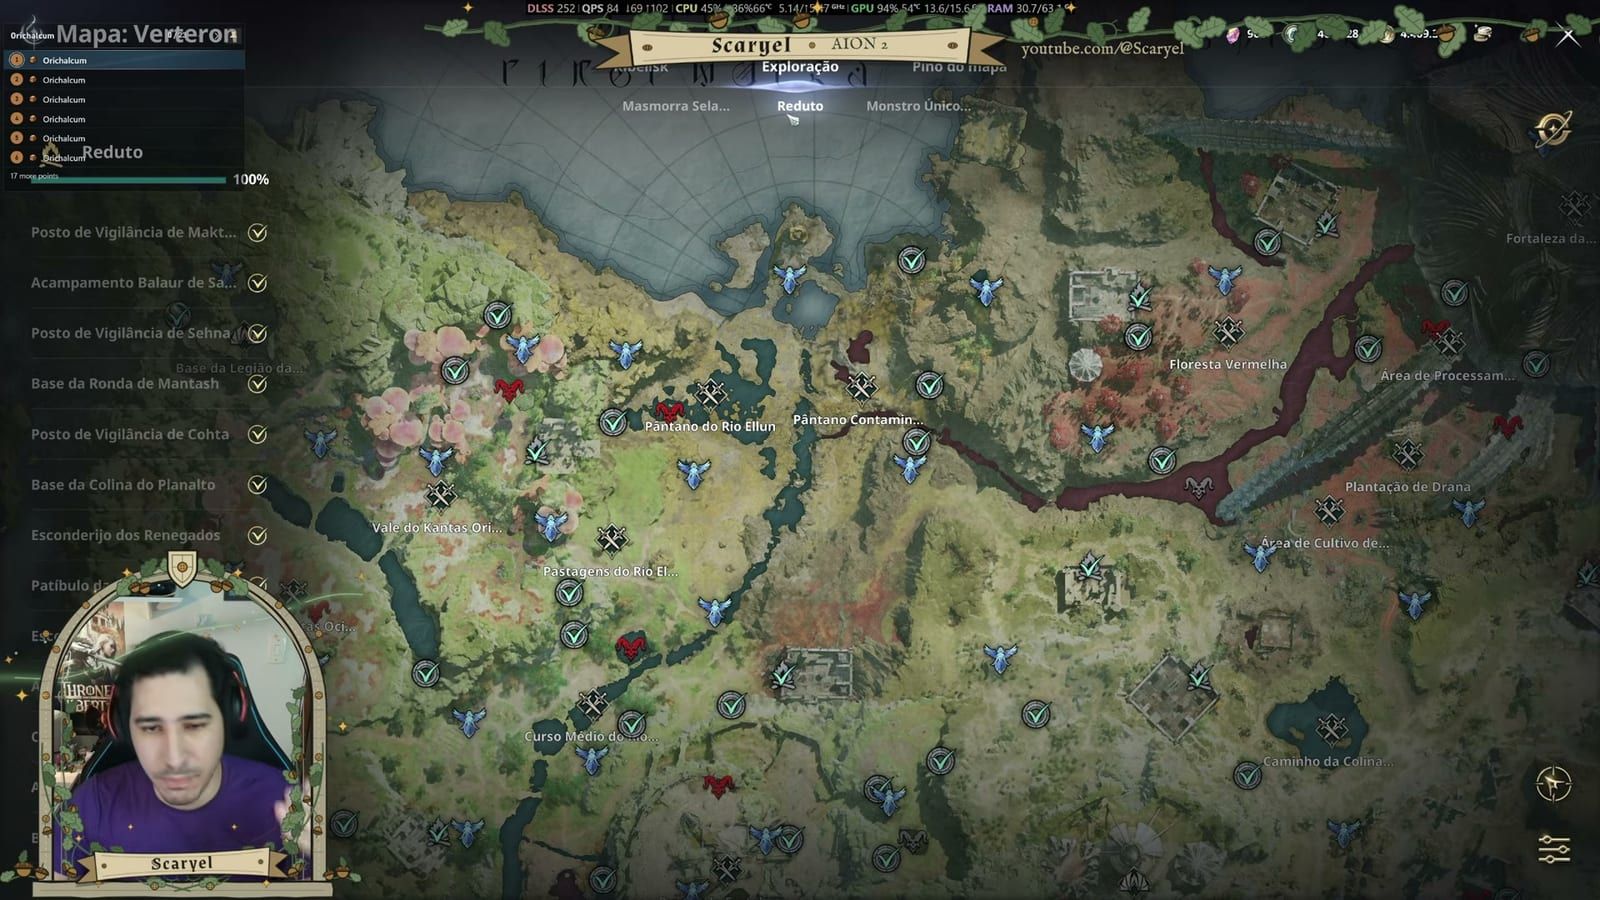
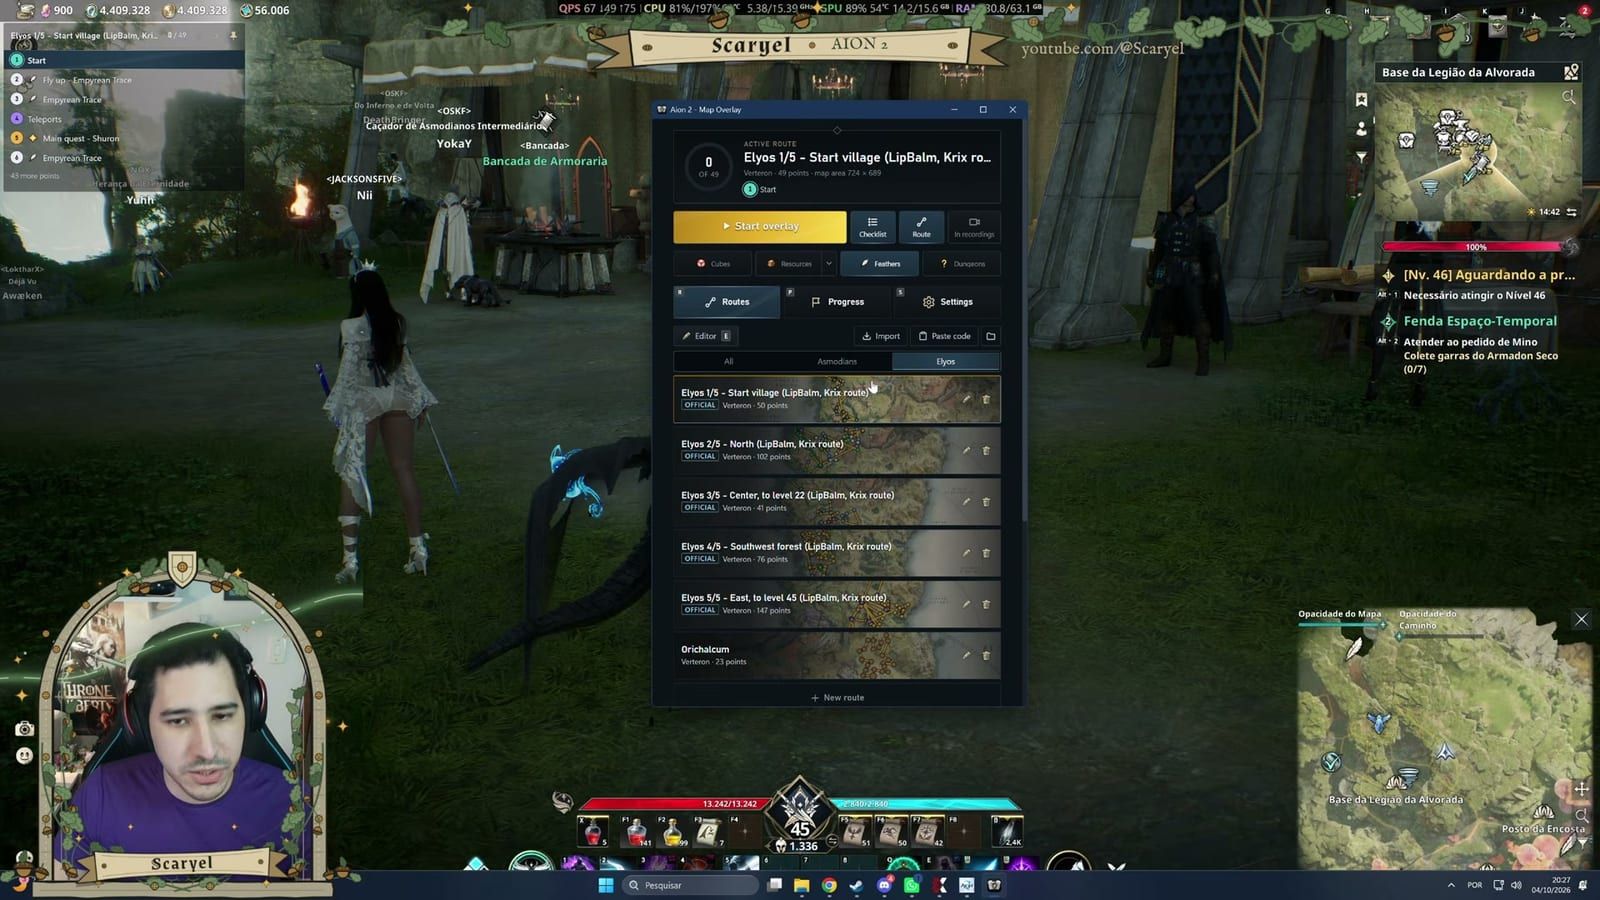
The Aion 2 Map Overlay is an external tool that draws ready-made leveling routes on the map. The upside is picking up, along the way, content that would normally be left for the end: feathers, sealed dungeons, and the Stronghold.
Choose your faction (Elyos or Asmodian) and start the route: the points show up numbered in the corner of the screen and advance as you complete each stage.
- Select your faction to load the preset routes.
- Start the route and follow the numbered points in the bottom-right corner.
- Use the colors to decide on detours: white is feathers, purple is teleports, yellow is main quests, and green is sealed dungeons and side quests.
03Macro: the shortcut that speeds up DPS
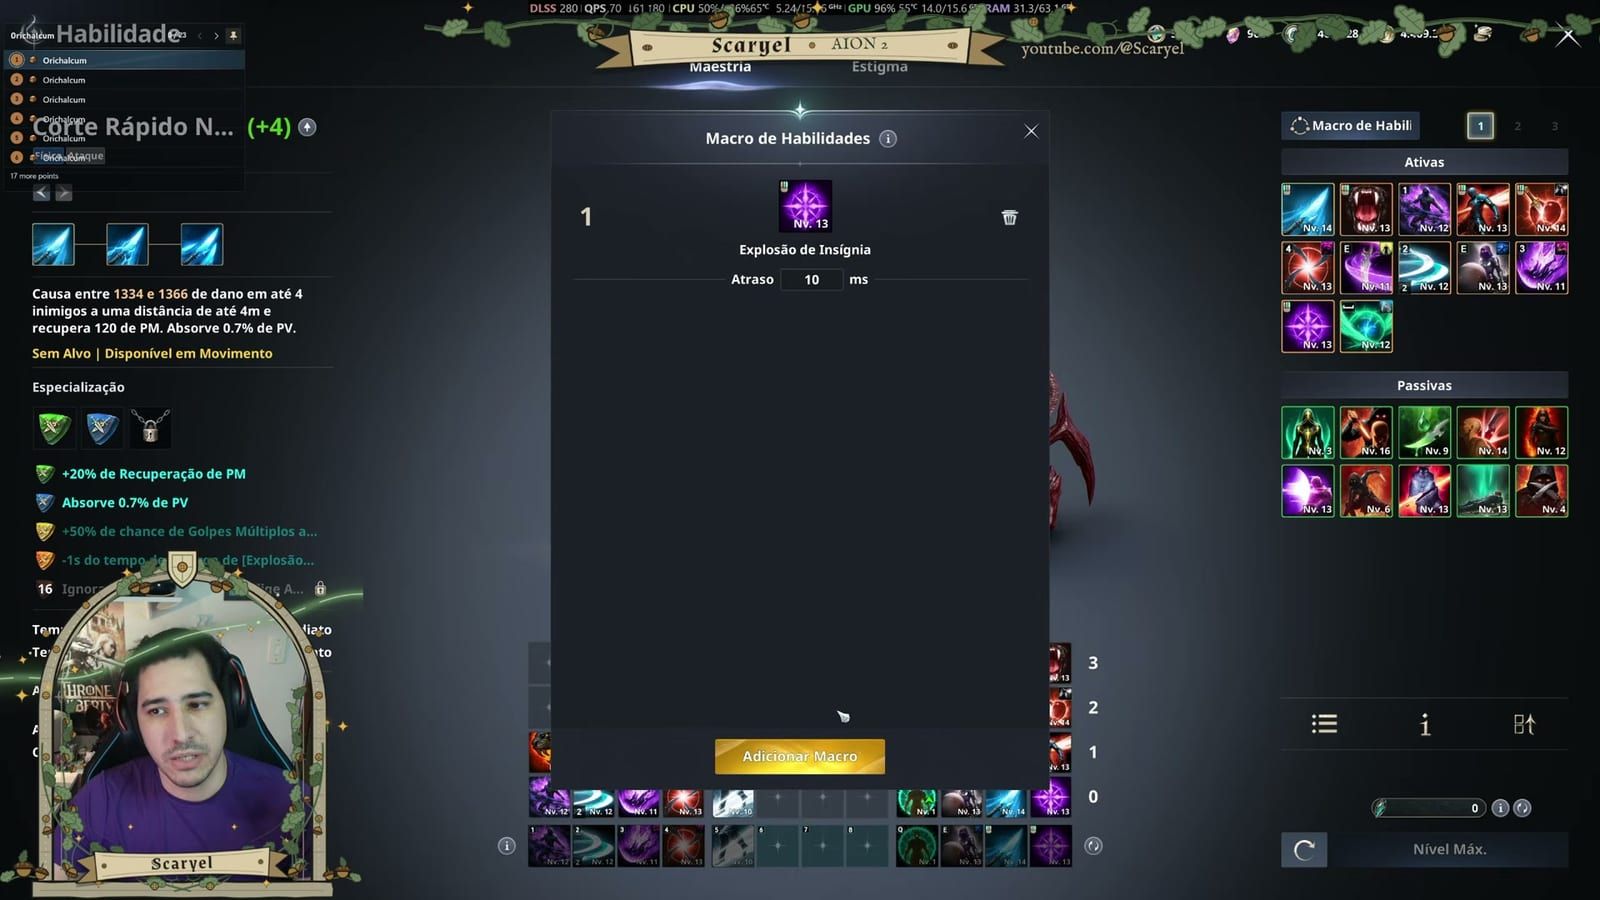
The macro is an in-game system, not an external tool. You build a sequence of skills and, by holding a single hotkey, they fire in order.
The real gain comes from alternating the macro with the basic attack: that gives you animation cancel, an important combat mechanic.
- Open the Skill Macro and place the skill that starts the sequence.
- Add the following skills in the order they should be used.
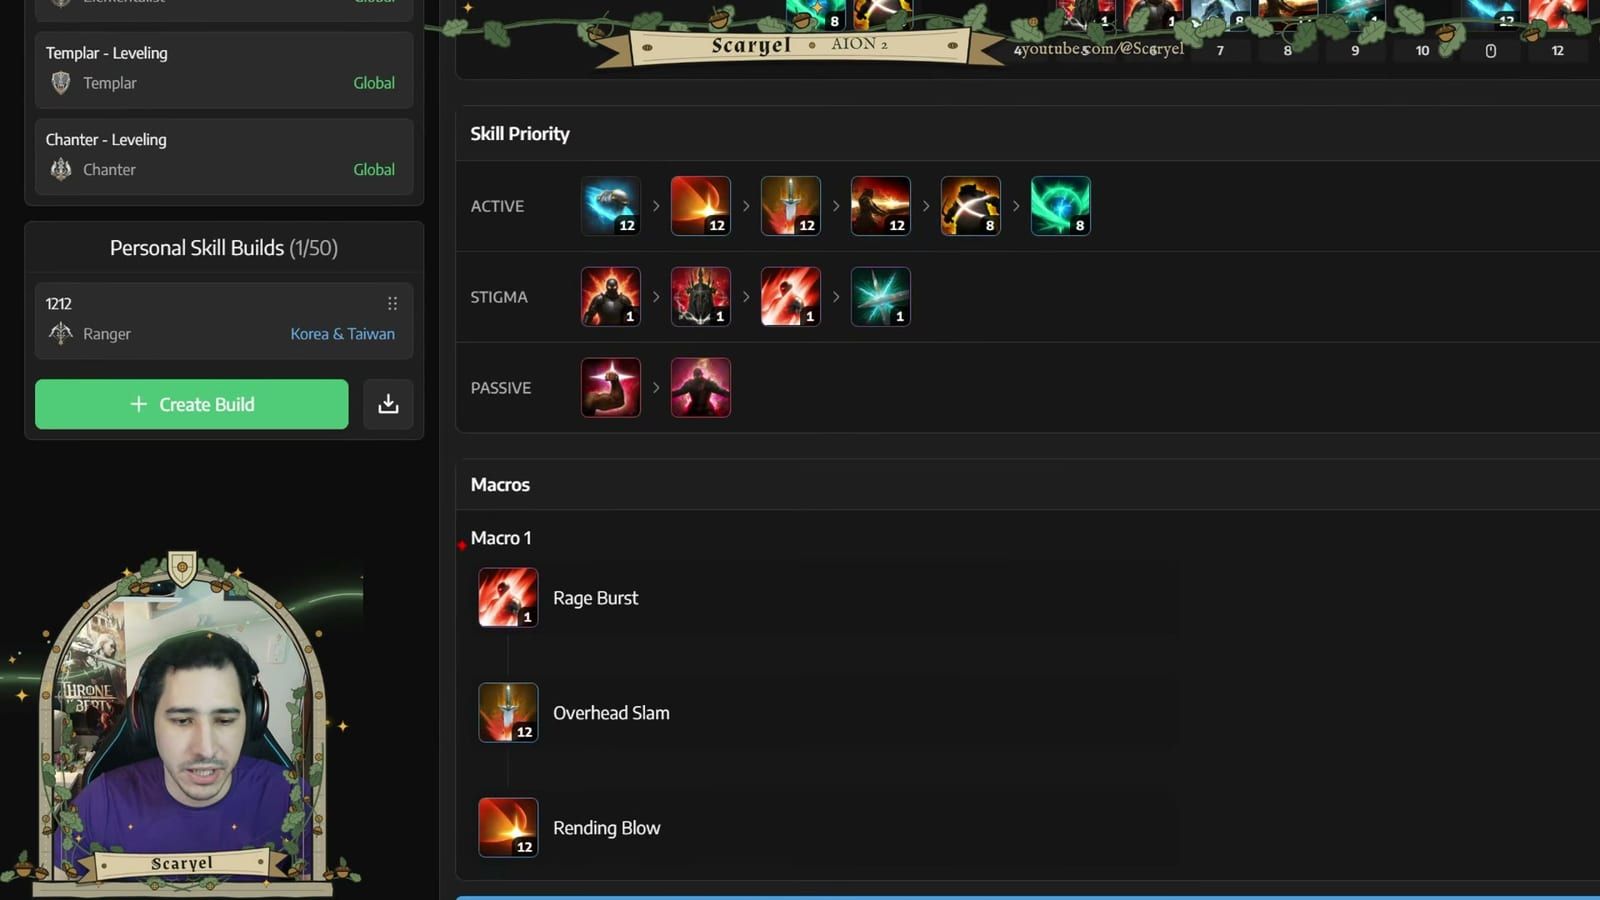
- Search the Questlog site for a build macro for your class and copy the setup.
04Skills and Stigma
Upgrade your skills whenever you can: once upgraded, they unlock specializations that give your character extra bonuses.
At level 22 you get Stigma, another type of skill that also levels up. Experiment freely — you can reset and set up another build at no cost.
05Gear: enhance without hesitation
It's worth enhancing even gear you'll replace soon. When you dismantle the item from your inventory, all the enhancement material comes back — only the money invested is lost, and it's little.
Prioritize weapons and arm gear, which increase damage. Then belt and amulet.
- Click the item and choose Enhance item.
- Pay with in-game currency and the enhancement material.
- When you swap the piece, dismantle the old one to recover the material.
06Noble Belt and Amulet
The belt and amulet you receive are green. Through Transmutation, each one rises in quality up to gold — and that weighs on your character's power.
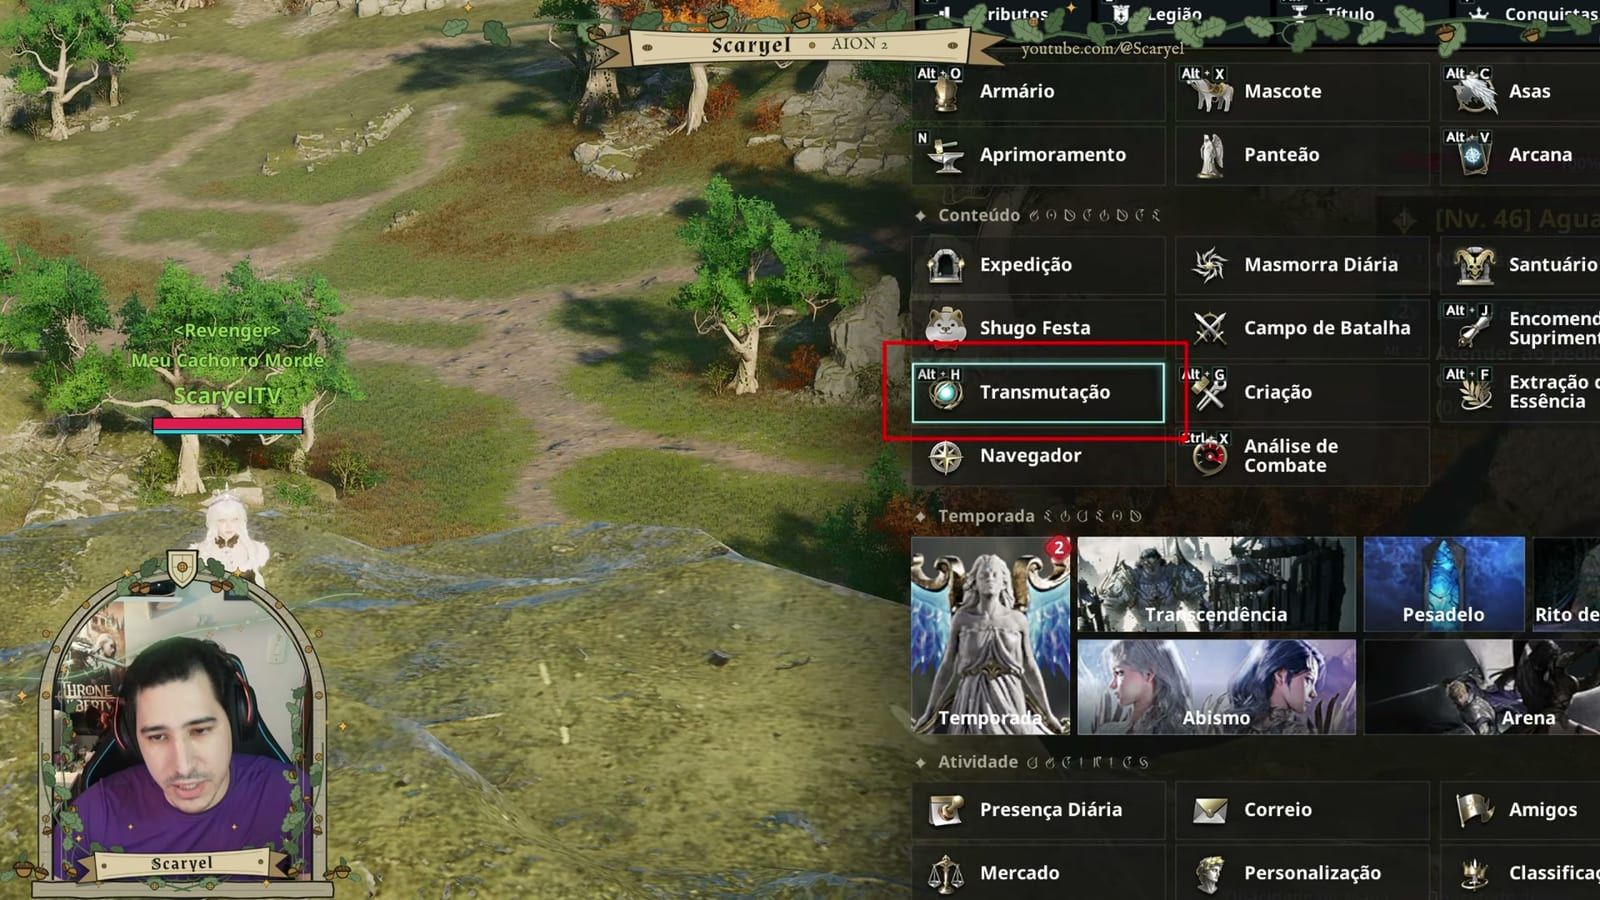
- Press ESC and open Transmutation.
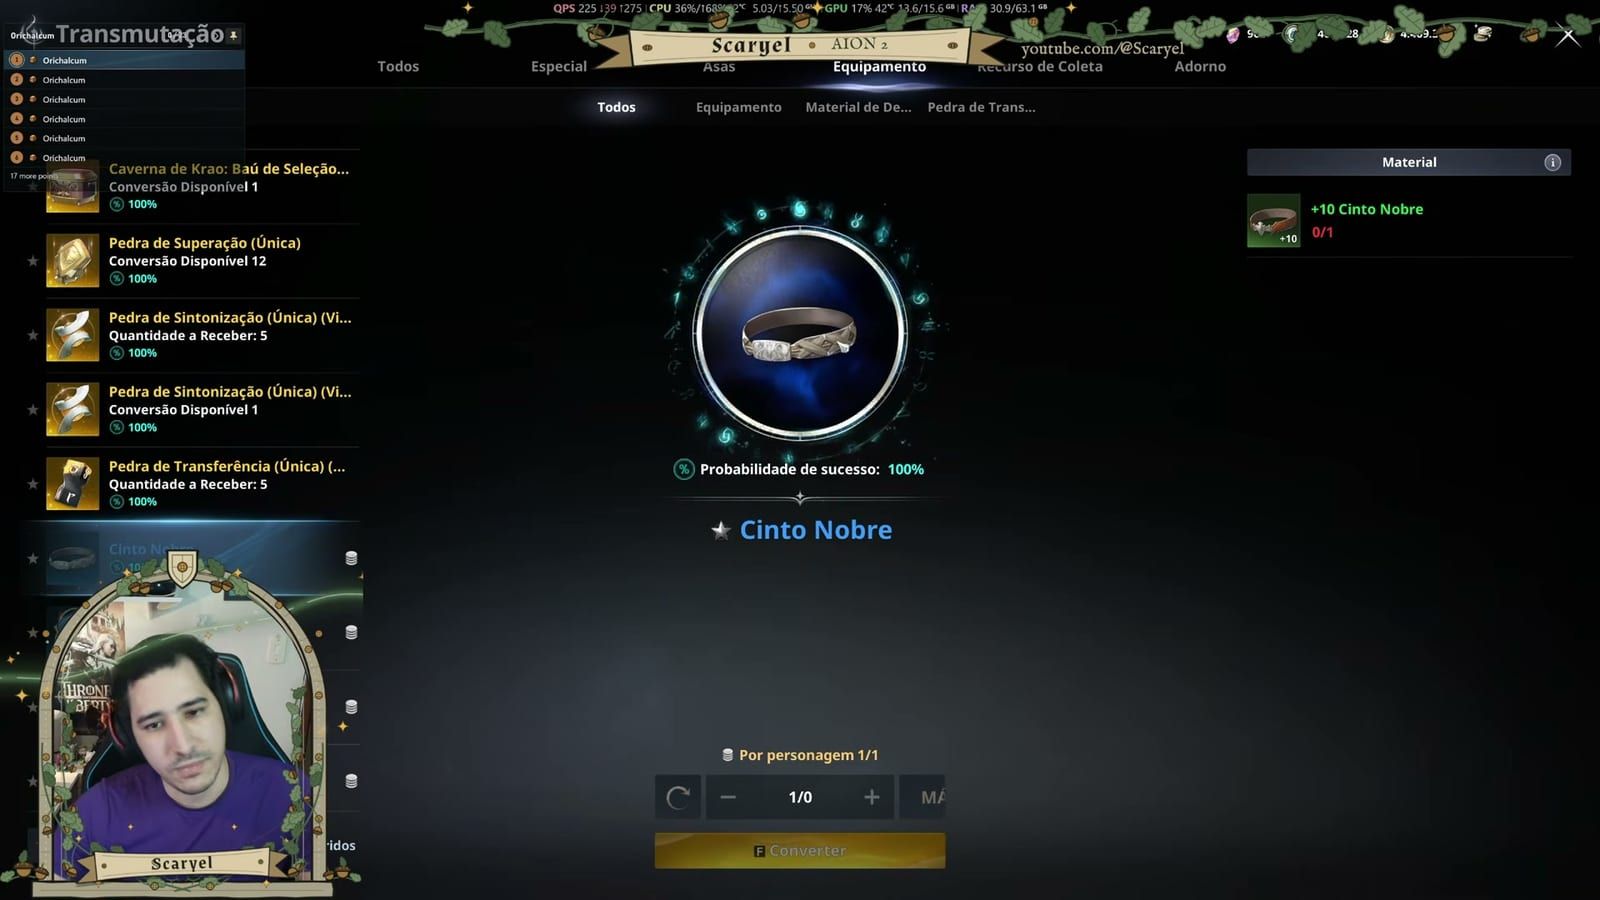
- Take the green belt to +10 and evolve it to blue.
- Take the blue belt to +10 and choose Noble Belt in the list on the left.
- Unequip the item before each evolution.
- Repeat the same path with the amulet.
07Hit 45: what gets left behind
Around level 45 the gaps show up. The first is the belt material, which comes from the points marked with a question mark on the map — campfires spread across every region.
On the map, the Exploration and Stronghold tabs list these points. Clear all of them after 45, along with the sealed dungeons.